During email warmup, Outboundry sends and receives automated warmup emails to help build your sender reputation.
These emails are important for deliverability—but they can clutter your inbox.
To solve this, Outboundry adds unique warmup tags at the end of every warmup email, which you can use to easily identify and filter them.
How Warmup Tags Work
Each warmup email includes two unique tags at the bottom of the message:
Sender Tag (tag1) → Identifies the sending account
Receiver Tag (tag2) → Identifies the receiving account
These tags are automatically appended at the end of both:
Sent warmup emails
Received warmup emails
Example Warmup Email
Hey there Ravi

Sending well wishes for your day

Good morning Ravindra Kumar, I hope you're having a productive day so far...

Best,
Beverly Payne

2sW*yRW0 O!8pcss9hV
👉 In this example:
2sW*yRW0→ Sender tagO!8pcss9hV→ Receiver tag
These tags are unique per email account and remain consistent, making them ideal for filtering.
Where to Find Your Warmup Tags
You can view your warmup tags inside Outboundry:
👉 Email Accounts → Select Account → Warmup Settings
Why You Should Filter Warmup Emails
Filtering warmup emails helps you:
Keep your inbox clean
Avoid confusion with real conversations
Automatically organize warmup activity
Stay focused on important emails
How to Filter Warmup Emails
You’ll create a rule in your email provider using either of your warmup tags.
💡 You can use:
Sender tag
Receiver tag
Or both (recommended for better accuracy)
Filtering Warmup Emails in Gmail

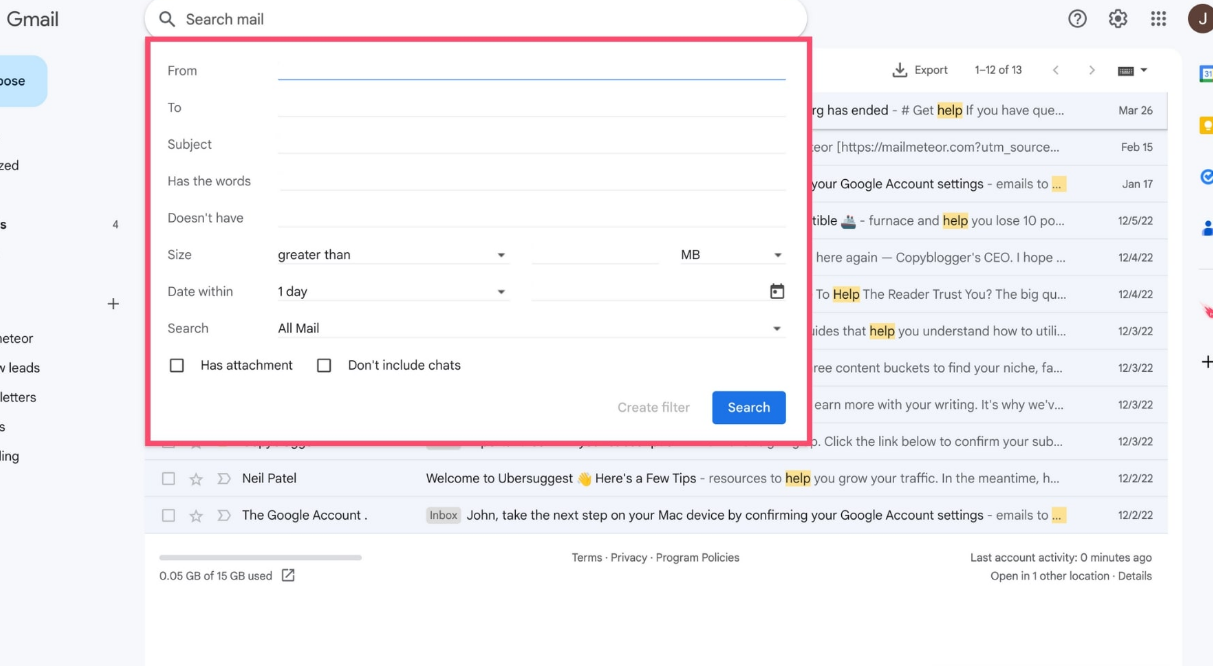
Steps:
Go to Gmail Settings
Navigate to Filters and Blocked Addresses
Click Create a new filter
-
In “Contains the words”, enter your warmup tag
Example:
2sW*yRW0Or both tags:
2sW*yRW0 OR O!8pcss9hV
Click Create filter
-
Choose actions:
✅ Skip Inbox (Archive it)
✅ Apply label → “Warmup”
✅ Mark as read (optional)
Click Create filter
Filtering Warmup Emails in Outlook
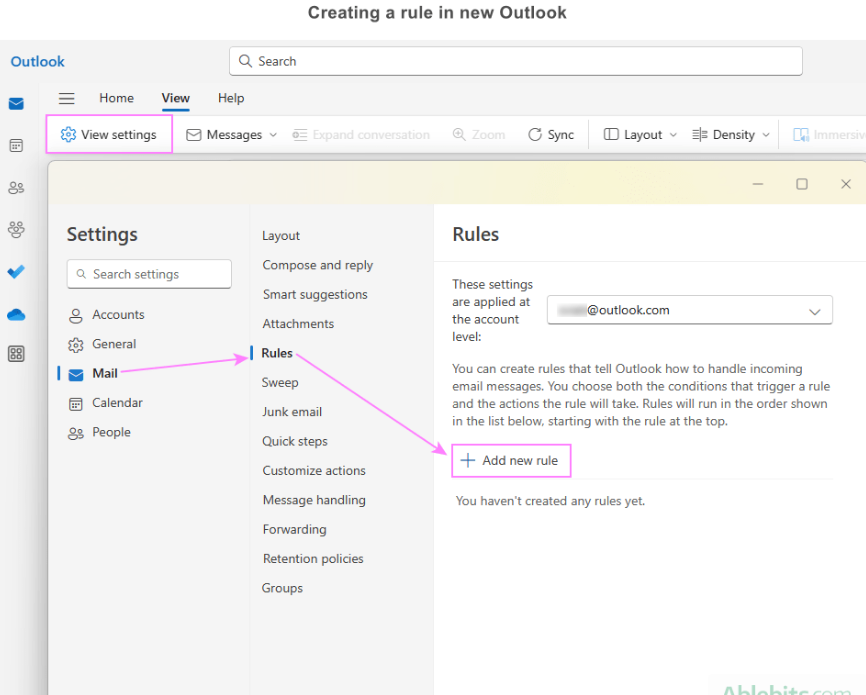
Steps:
Go to Outlook Settings
Navigate to Mail → Rules
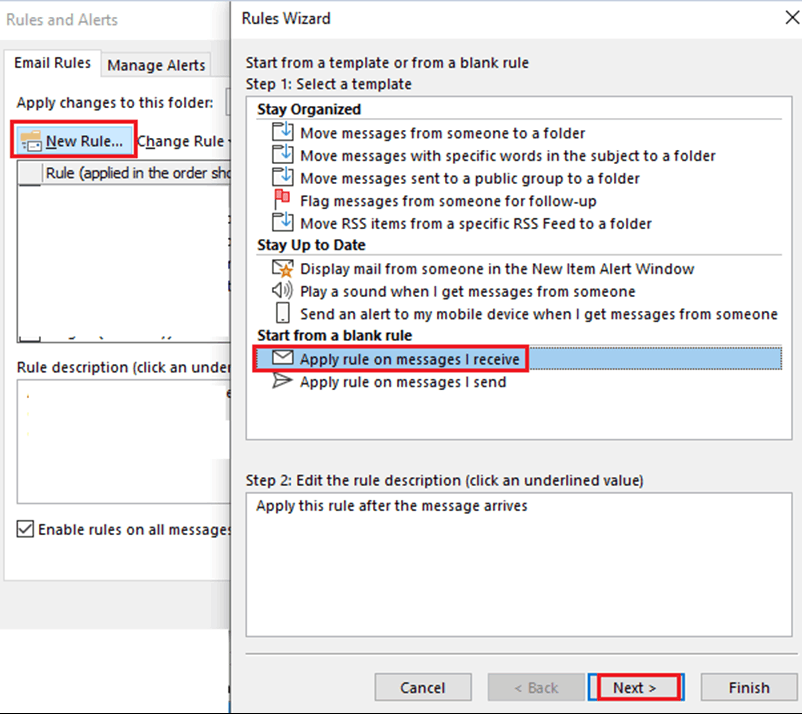
Click Add new rule
-
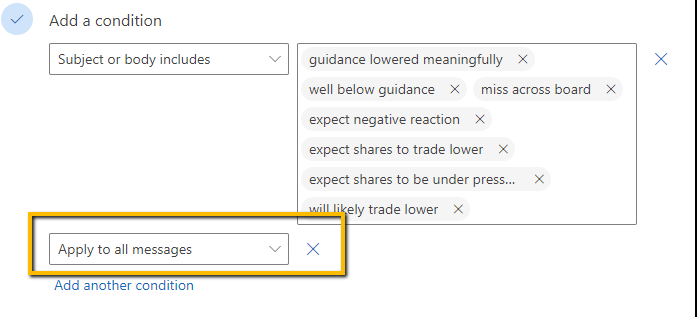
Add condition:
Subject or body includes → Enter your warmup tag
-
Add action:
Move to folder → “Warmup”
Or mark as read / archive
Save the rule
Best Practices
Use exact warmup tags (no partial matches)
Prefer using both tags for higher accuracy
Avoid using generic keywords (may affect real emails)
Create a dedicated folder/label like “Warmup”
Periodically review filtered emails
Important Notes
Warmup emails are essential for improving deliverability
Filtering them does not affect warmup performance
Tags are unique per account, ensuring precise filtering
Tags are always present at the end of the email body
Summary
Outboundry appends unique sender and receiver tags to every warmup email.
By using these tags in your email provider filters, you can:
Automatically separate warmup emails
Keep your inbox clean
Maintain focus on real conversations